
We’ve all been there: you got what you thought was the perfect take, but after sitting down to watch or edit the video you realize there’s this awful, incessant hissing noise that’s ruining everything! This was probably followed by some feelings of distress as you weighed the cost and benefits of redoing everything or keeping it as it is.
There are many types of noise that can plague an audio track, but hiss is probably the most commonly encountered in videography and filmmaking. Here we’ll discuss some things you can do to avoid getting hiss in your audio, and one way to mitigate it after-the-fact. But first, let’s define our terms.
What Is Hiss Noise?
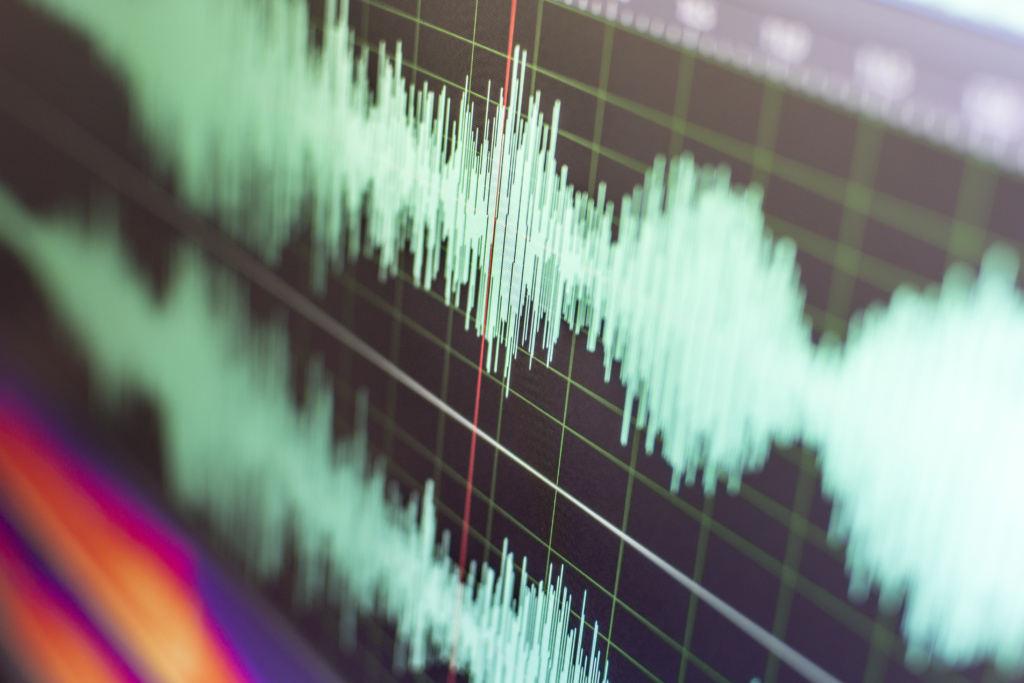
Hiss is a broadband noise that spans the entire audible spectrum but with more intensity in the high frequencies. From a technical standpoint, this would be similar to the sound of blue noise. The cause of hiss noise is the electronic components themselves, referred to as inherent or self noise. The level of a circuit’s inherent noise is called a noise floor, expressed in decibels (dB).
All audio circuits generate some amount of noise; it’s the inevitable result of the heat energy that moving electrons create. The ultimate level of noise depends on the quality of the components and the design of the circuitry. This is why, in general, more expensive audio gear, which typically uses higher quality components and better designs, has a lower noise floor.
Since lower quality audio components have the most potential to create noise, it makes sense to look for the weakest link in the audio signal chain when trying to prevent hiss. Unfortunately for filmmakers, that weakest link is often the camera’s audio input (or microphone preamp).
It’s sad but true; even if you spend a few thousand dollars on what is in fact a really nice camera, the reality is most of what you’re paying for goes towards all the things that make the camera’s images and video look good, not sound good. This is particularly the case with DSLR and mirrorless cameras that have a 3.5 mm microphone input jack.
So what is a filmmaker to do? Here are some tips to keep annoying hiss noise out of your audio tracks.
Use A Microphone With A Gain Boost
The best way to combat a noisy microphone preamp is to feed it a signal with plenty of gain. The idea here is to avoid adding gain using the camera’s preamp (ie: leaving the volume setting low), which would add noise, and boosting the microphone signal by another, less noisy means.
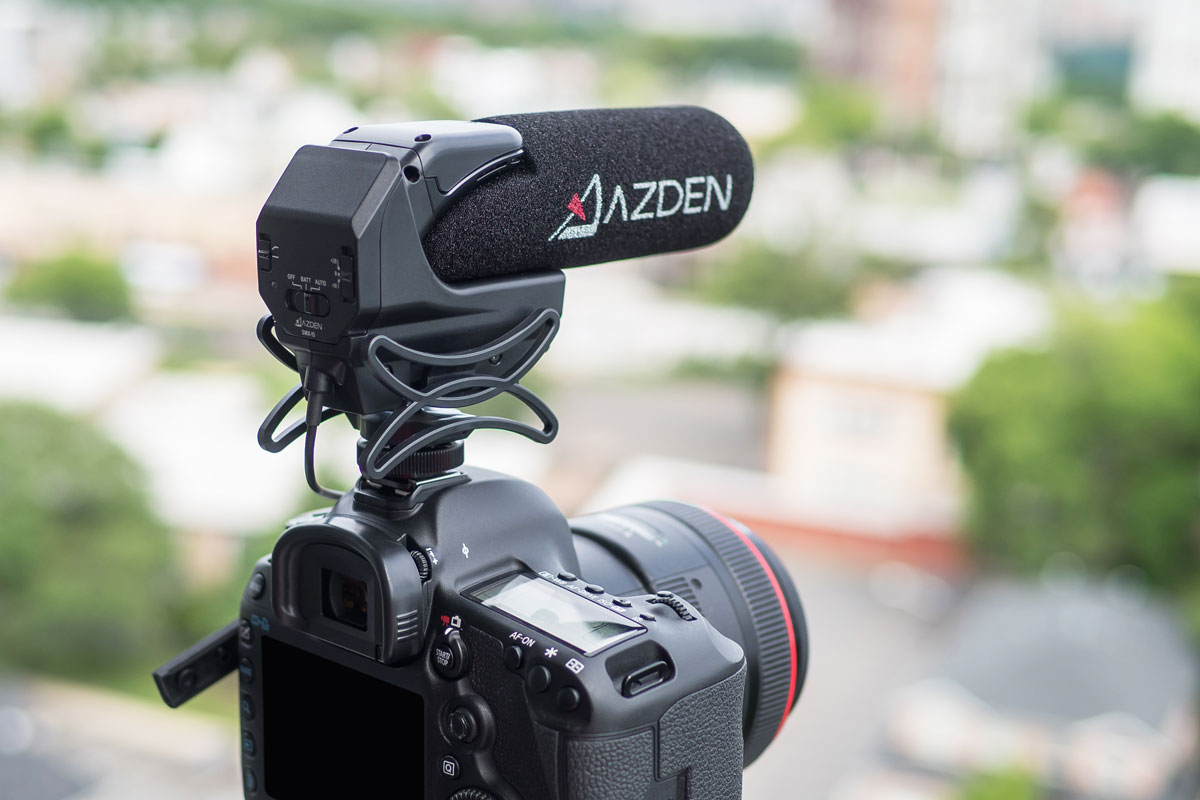
When it comes to external microphones for your camera, there are many options available today, but most of them don’t offer any kind of gain adjustment. Azden’s SMX-30 and SMX-15 microphones are examples of some of the few microphones on the market that have a gain control switch that allows you to add 20 dB of clean gain to the microphone signal before it is sent to the camera.
Essentially, these microphones have built into them the high-quality gain circuitry that your camera is lacking. In addition to the 20 dB gain boost, there are settings for nominal gain (no boost) and a 10 dB reduction. These setting would have applications for moderately loud and very loud sound environments, respectively.
Turn Off Auto Gain Control On Your Camera
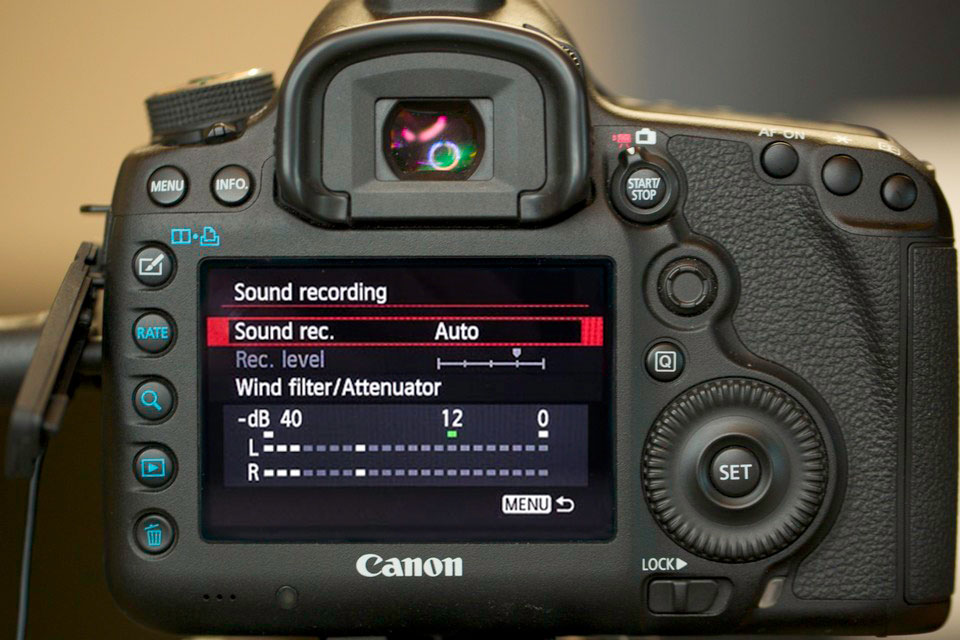
Auto gain control (AGC) is a feature commonly found on today’s video capable cameras but many people aren’t even aware of it. Basically, AGC is an audio compressor which acts to regulate the perceived volume of recorded audio by turning up the gain when sounds are quiet and turning it down when things get loud.
This can be useful to even-out the disparity between loud and soft sounds, but still has its drawbacks. One being that when the AGC turns up the audio level during a quiet section of video, it increases everything, including the level of the preamp’s inherent noise, making it even more audible. The resulting effect is often heard as a whooshing sound as the noise becomes amplified in quiet audio segments. This doesn’t just affect the inherent noise in a low quality preamp, but also the ambient noise from the surrounding environment.
Turning off the AGC setting on your camera is a good idea if you want to avoid unwanted noise. Unfortunately, for some camera models, turning off AGC is not an available option. You’ll want to check your camera’s manual to know if your camera has AGC and how to control it, and consider this feature when researching your next camera purchase.
If You Adapt An XLR Mic To A Mini-Plug Input, Do It Right
So you have an XLR microphone and you want to plug it into your camera with a 3.5 mm input. Just get an adapter, right? Well, if you don’t want hiss in your audio, not so fast.
There are a few things to consider when searching for a solution to adapting XLR to mini-plug. One: the cable needs to be wired correctly as you are adapting from a balanced audio connection to an unbalanced one. Two: the length of the unbalanced section of cable should be relatively short as you are losing the noise rejection capabilities of a balanced connection. Three: the ideal adapter will also use an impedance matching transformer to help compensate for any lost gain as a result of the change over.
Even if you get the proper adapter cable, you may notice that you have to turn up your camera’s volume significantly, and because of this your noise floor is high. That’s because XLR microphones in general are designed with the expectation that they’re going to be plugged into a microphone input that is of a higher quality than what most DSLR or mirrorless cameras can provide.
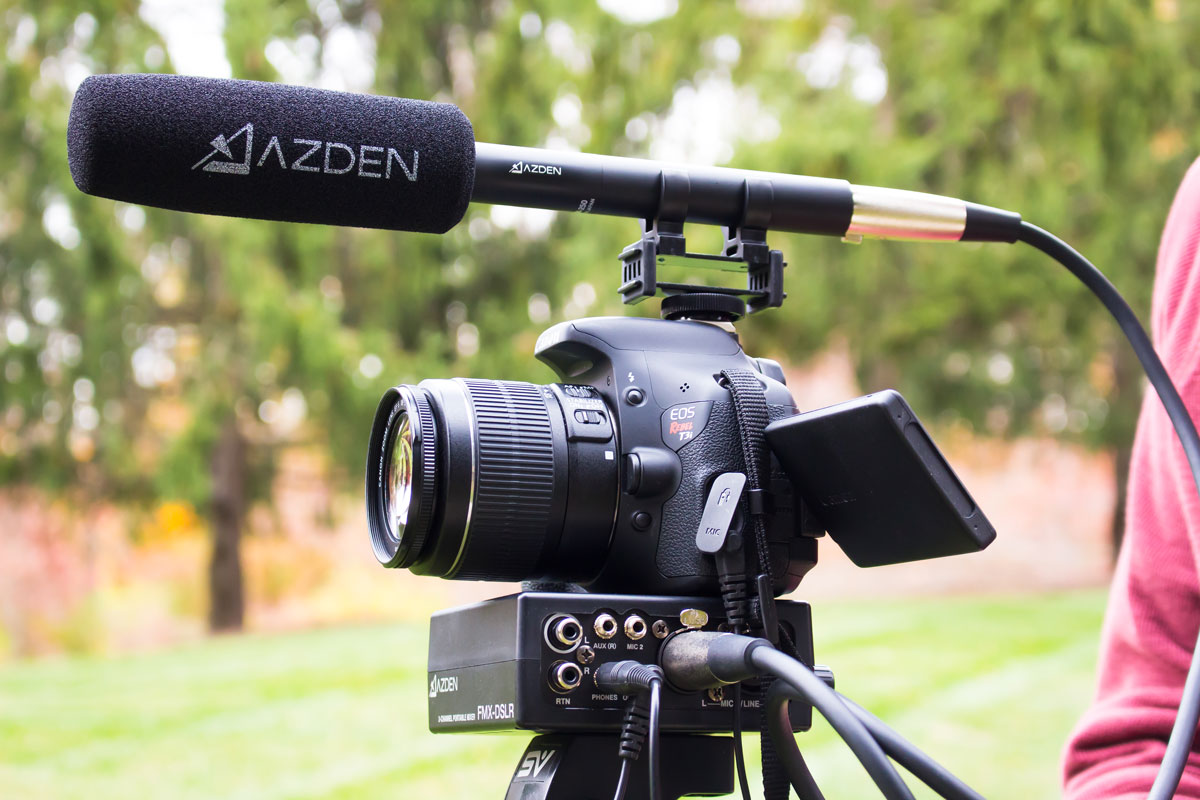
An even better solution, but obviously more expensive, is to forgo the adapter cable and use an audio mixer with XLR inputs. The Azden FMX-DSLR is one such mixer you could use for this purpose. The big advantage as far as noise is concerned is you’ll get higher quality XLR inputs, each with a variable gain stage (a.k.a. volume knobs). This allows you to add the proper amount of gain for you XLR microphone without adding a bunch more noise to the signal.
What Can Be Done About Noise After The Fact?
These are all good tips for prevention, you might say, but what can be done about hiss noise that’s already in your videos? Fortunately, today there are myriad software solutions you could use to remove noise.
Professional video editing software such as Adobe Premiere and Final Cut Pro have noise reduction options built in. Chances are, if you are already using these editing programs you know about the noise reduction capability. If not, these are viable solutions but are on the more expensive side.
So, how about a solution for the budget conscious? Luckily there are a few free options out there. Apple’s popular iMovie app has a very easy-to-use noise reduction adjustment that works reasonably well. You can find it tucked away in the audio equalizer setting.
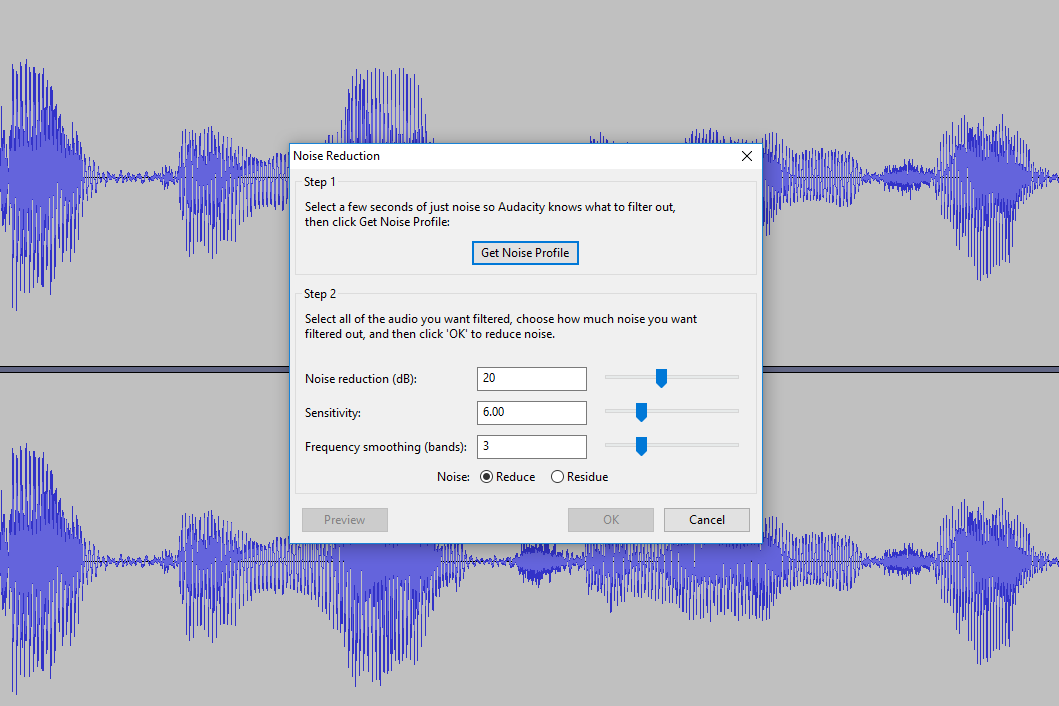
If you’re using a video editor without a noise reduction effect, you can always use the free audio editing software, Audacity. Doing so would require that you export your audio track as a separate audio file and then import the adjusted audio file back into your video editor. This is a little more work but still beats letting hiss noise ruin your cinematic masterpiece.
It’s worth noting that any noise reduction software is not a panacea. Generally, the more aggressive you are with noise removal, the more you start to add artifacts to the sound that distort it. So when applying noise reduction you’ll always have to strike that balance between improving the audio and making it worse. That’s why it’s important to try to get the best sound possible from the get-go, because post-production solutions are never just as good.


